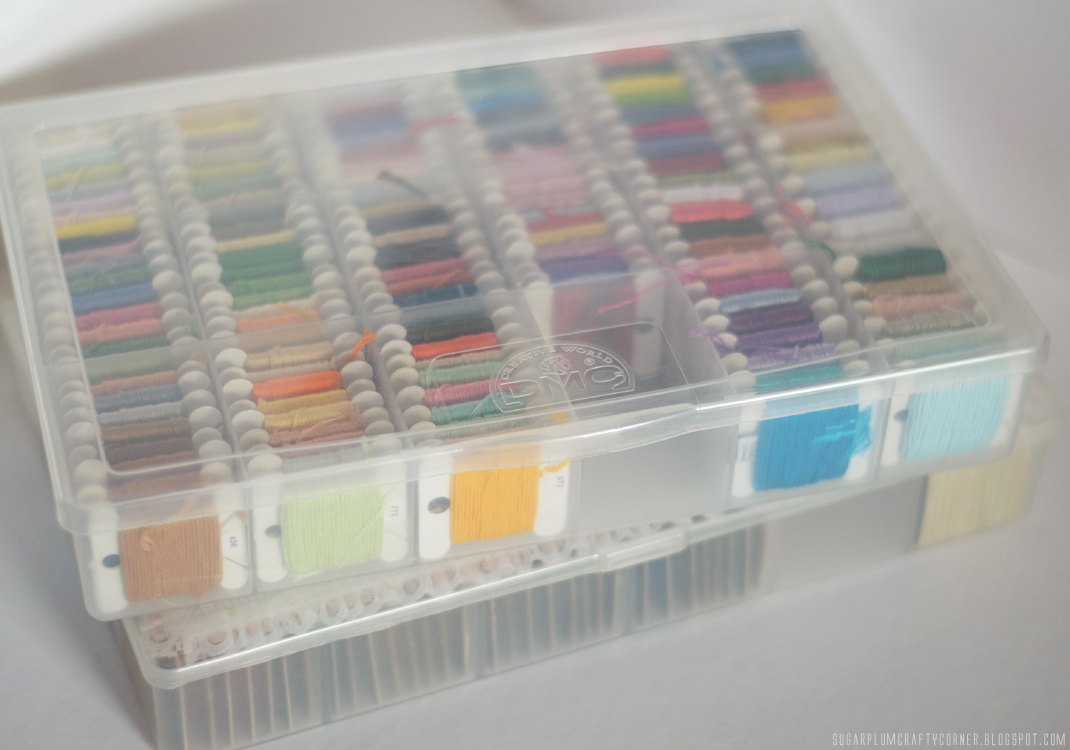
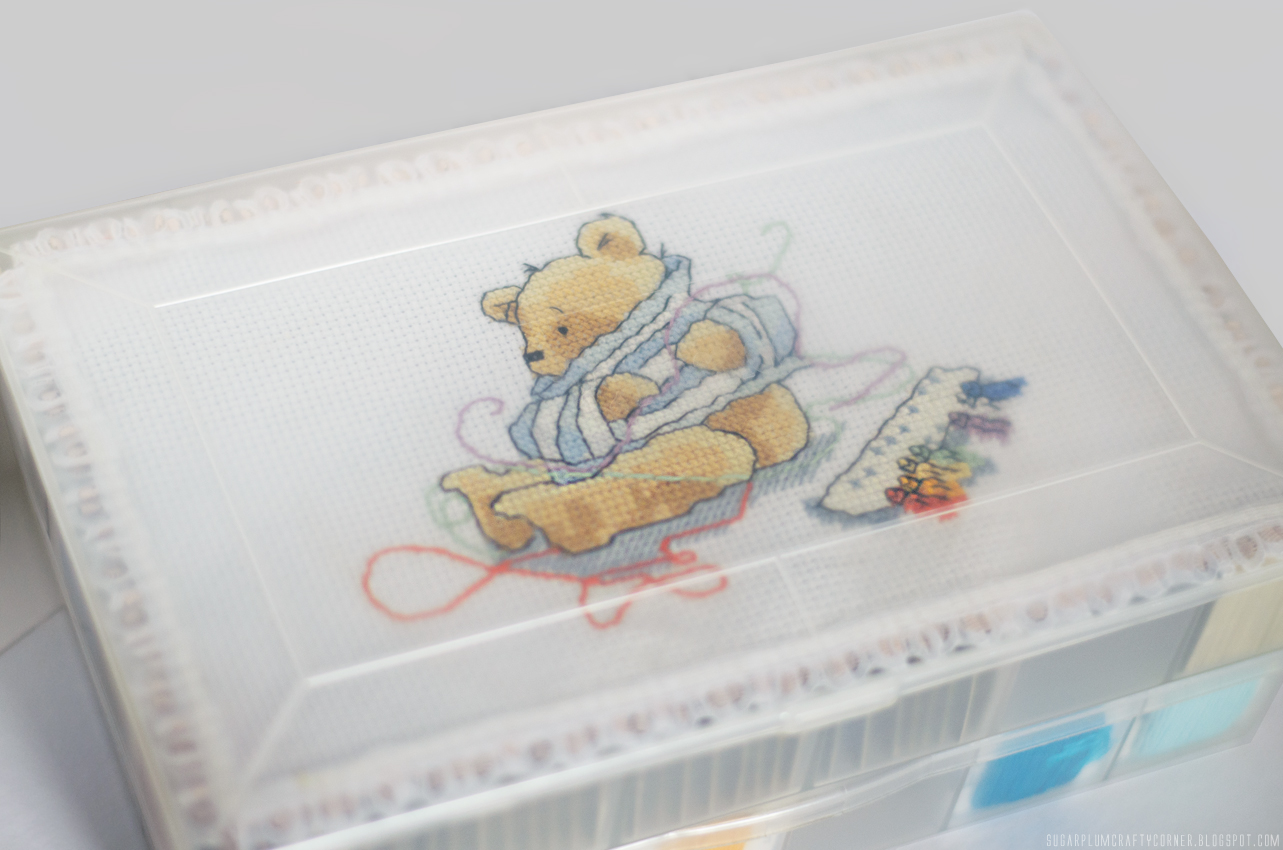
Ao folhear uma das minhas revistas preferidas de ponto cruz, a Quick & Easy, deparei-me com o projecto do ursinho Baxter Gets Set To Stitch da designer Margaret Sherry. Achei-o simplesmente perfeito para a minha primeira tentativa de personalizar e decorar a tampa de uma das caixas organizadoras.
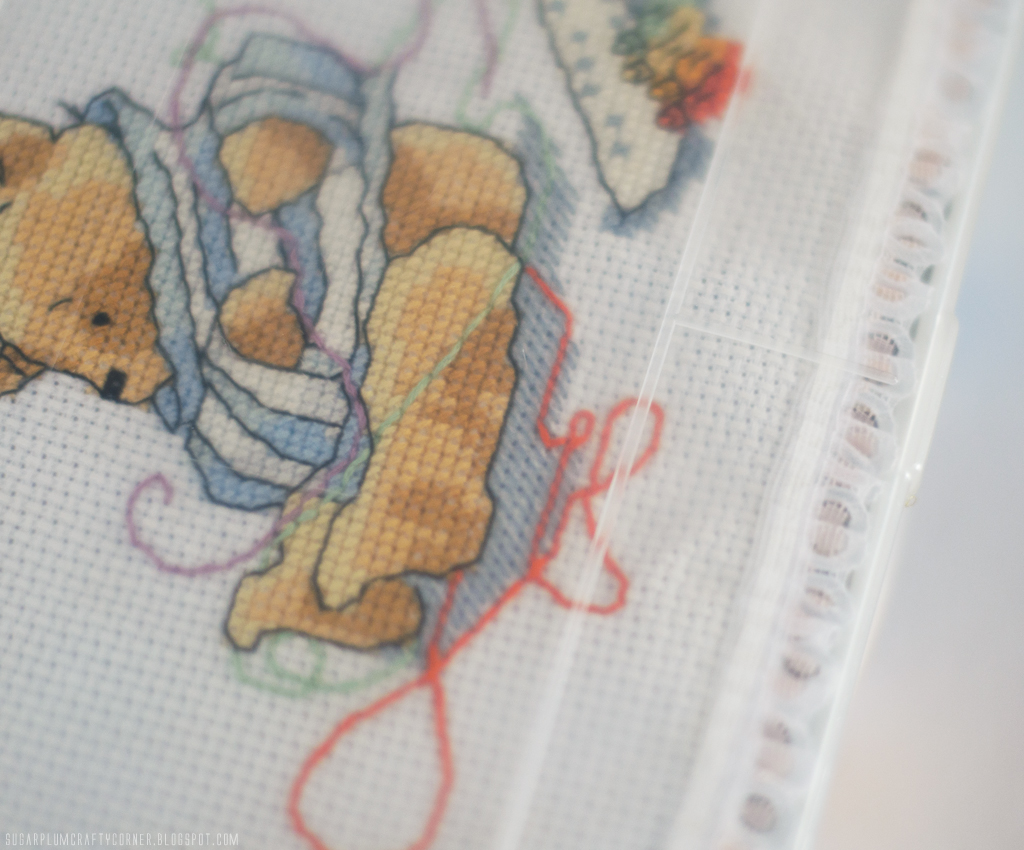
Não resisti a bordar esta fofura atrapalhada com tantas linhas e, depois de terminado o projecto, lavei a tela de ponto cruz com água e sabão. Após a sua secagem, engomei a tela e cortei-a à medida da tampa da caixa.
Em seguida, costurei à mão uma fita rendada a toda a volta das extremidades na parte da frente do quadrilé e, no avesso, colei com o ferro de engomar a entretela para dar mais rigidez e firmeza ao bordado e para dar um acabamento mais perfeito.
Para finalizar, fixei o projecto de ponto cruz à tampa simplesmente com a ajuda de uma fita adesiva dupla-face, que aderiu muito bem à fita rendada e ao material plástico da caixa, sem deixar quaisquer vestígios de cola. Não podia ter ficado mais contente e orgulhosa com o resultado final!
É um regalo para os meus olhos ver a minha caixinha personalizada! No entanto, faltam ainda mais 3 caixas para personalizar, alguma sugestão para o bordado? Será muito bem-vinda! 。◕‿◕。
When going through one of my favorite cross stitch magazines, Quick & Easy, I came across the Baxter Bear Gets Set To Stitch project designed by Margaret Sherry. I found it just perfect for my first attempt to customize and decorate the cover of one of my organizer boxes.
I could not resist it and I had to embroider this cute bear muddled in embroidery threads. After finishing the project, I washed the Aida fabric with soap and water. After drying, I ironed it and cut it keeping in mind the box cover measures.
Then, I hand sewed a lacy ribbon all the way around the edges on the front of Aida, and on the back, I ironed the fabric stabilizer just enough to hold the two layers together to give more rigidity and firmness to the embroidery and to give it a more perfect finish.
Finally, I secured the cross stitch project to the box cover simply with the help of a double-sided adhesive tape, which adhered very well to the lace tape and to the plastic material of the box, without leaving any traces of glue. I could not have been more pleased and proud of the result!
It is a feast for my eyes to see my customized organizer box! However, there are still 3 more boxes to customize, any suggestions for a new cross stitch project? It will be very welcome! 。◕‿◕。


This little bear is cute as a button :))
ResponderEliminarWhere are you? Taking a break from blogging?
Take care
Your support has been incredible Regina, I really can not thank you enough for all your lovely and caring comments. A deep Thank You! I did take a break, but I am hoping to come back soon. It has been a while since I visited your blog, I am hoping to catch up soon aswell! I am sure I have missed a lot of your wonderful and inspiring posts :3
Eliminar