I wish you a Merry Christmas and a Happy New Year!
sexta-feira, 26 de dezembro de 2014
quarta-feira, 17 de dezembro de 2014
5 Inspirational Crafts: Wonderful Christmas
- DIY Christmas Light Leggings um projecto único e divertido para vestir no Natal, que poderá ser também realizado com a simples técnica do transfer
- Uma etiqueta amorosa para imprimir e adornar qualquer presente Holiday Jumbo Gift Tag
- Tão simples, mas bonito e de rápida concretização Holly Berry Muslin Gift Bags
- Estou deslumbrada com esta ideia tão original e delicada Very Merry DIY Christmas Gift Tags
- A mais criativa e fácil de fazer guirlanda de natal: Pencil Starburst Wreath
★•.•*`*•.•*`*•.•*`*•.•*`*•★•*`*•.•*`*•.•*`*•.•*`*•.•★
- DIY Christmas Light Leggings an unique and fun Christmas project to wear, that also can be accomplished with the simple iron-on transfer technique
- A lovely tag to print and adorn any present Holiday Jumbo Gift Tag
- So simple, yet beautiful and quick to create Holly Berry Muslin Gift Bags
- I am dazzled by this idea so original and delicate Very Merry DIY Christmas Gift Tags
- The most creative and easy to make christmas wreath: Pencil Starburst Wreath
sábado, 13 de dezembro de 2014
Craft Room: My Customized Organizer Box
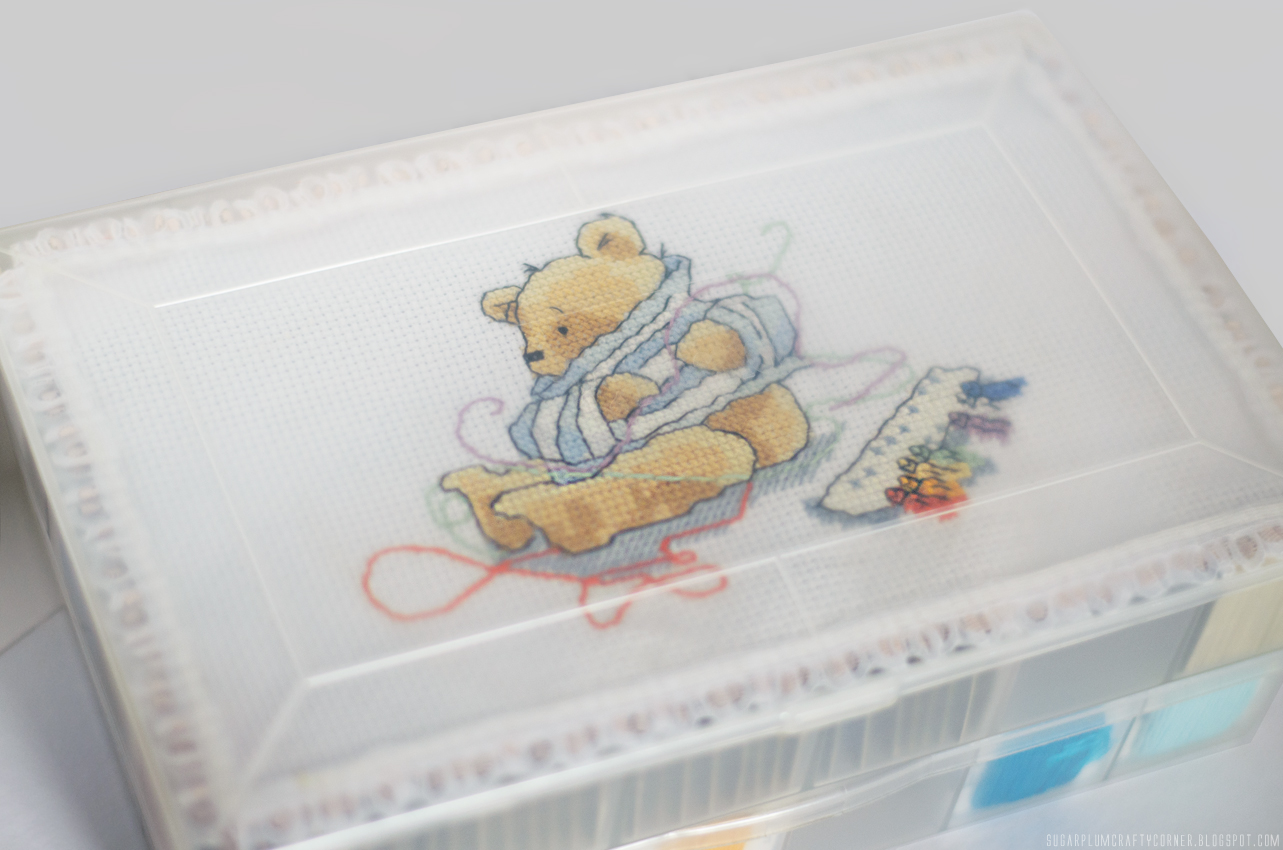
Ao folhear uma das minhas revistas preferidas de ponto cruz, a Quick & Easy, deparei-me com o projecto do ursinho Baxter Gets Set To Stitch da designer Margaret Sherry. Achei-o simplesmente perfeito para a minha primeira tentativa de personalizar e decorar a tampa de uma das caixas organizadoras.
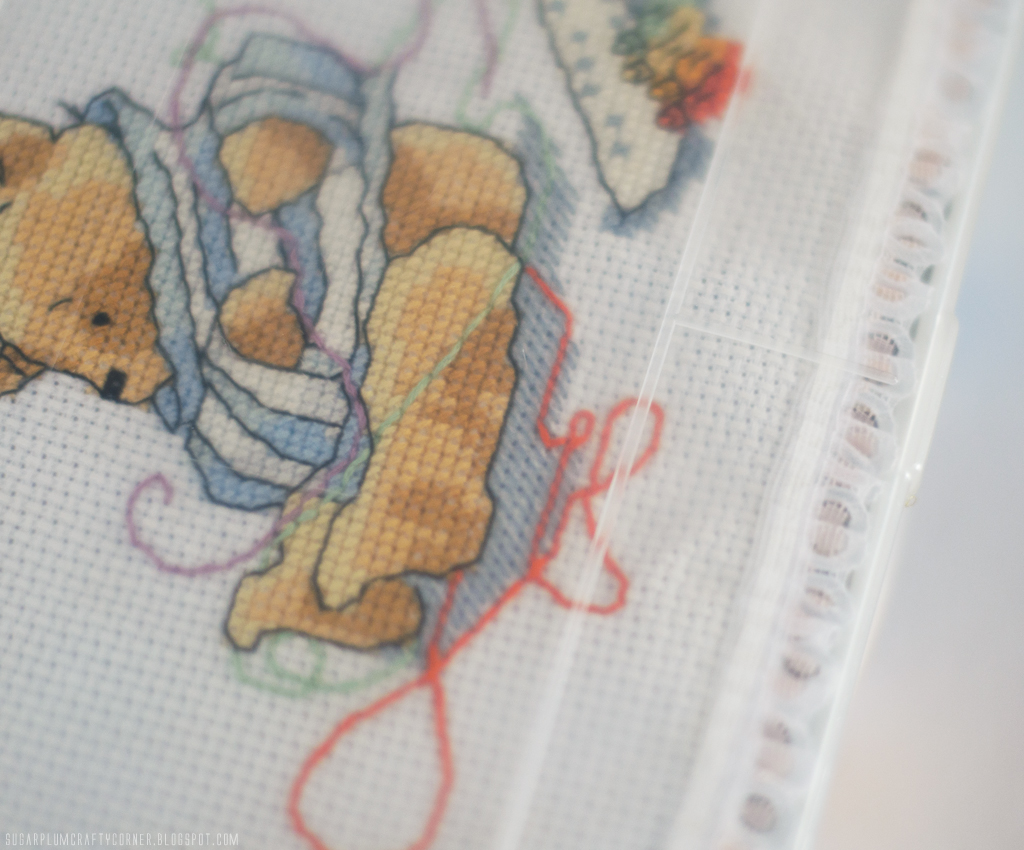
Não resisti a bordar esta fofura atrapalhada com tantas linhas e, depois de terminado o projecto, lavei a tela de ponto cruz com água e sabão. Após a sua secagem, engomei a tela e cortei-a à medida da tampa da caixa.
Em seguida, costurei à mão uma fita rendada a toda a volta das extremidades na parte da frente do quadrilé e, no avesso, colei com o ferro de engomar a entretela para dar mais rigidez e firmeza ao bordado e para dar um acabamento mais perfeito.
Para finalizar, fixei o projecto de ponto cruz à tampa simplesmente com a ajuda de uma fita adesiva dupla-face, que aderiu muito bem à fita rendada e ao material plástico da caixa, sem deixar quaisquer vestígios de cola. Não podia ter ficado mais contente e orgulhosa com o resultado final!
É um regalo para os meus olhos ver a minha caixinha personalizada! No entanto, faltam ainda mais 3 caixas para personalizar, alguma sugestão para o bordado? Será muito bem-vinda! 。◕‿◕。
When going through one of my favorite cross stitch magazines, Quick & Easy, I came across the Baxter Bear Gets Set To Stitch project designed by Margaret Sherry. I found it just perfect for my first attempt to customize and decorate the cover of one of my organizer boxes.
I could not resist it and I had to embroider this cute bear muddled in embroidery threads. After finishing the project, I washed the Aida fabric with soap and water. After drying, I ironed it and cut it keeping in mind the box cover measures.
Then, I hand sewed a lacy ribbon all the way around the edges on the front of Aida, and on the back, I ironed the fabric stabilizer just enough to hold the two layers together to give more rigidity and firmness to the embroidery and to give it a more perfect finish.
Finally, I secured the cross stitch project to the box cover simply with the help of a double-sided adhesive tape, which adhered very well to the lace tape and to the plastic material of the box, without leaving any traces of glue. I could not have been more pleased and proud of the result!
It is a feast for my eyes to see my customized organizer box! However, there are still 3 more boxes to customize, any suggestions for a new cross stitch project? It will be very welcome! 。◕‿◕。
domingo, 16 de novembro de 2014
Craft Room: How I Organize My Embroidery Threads
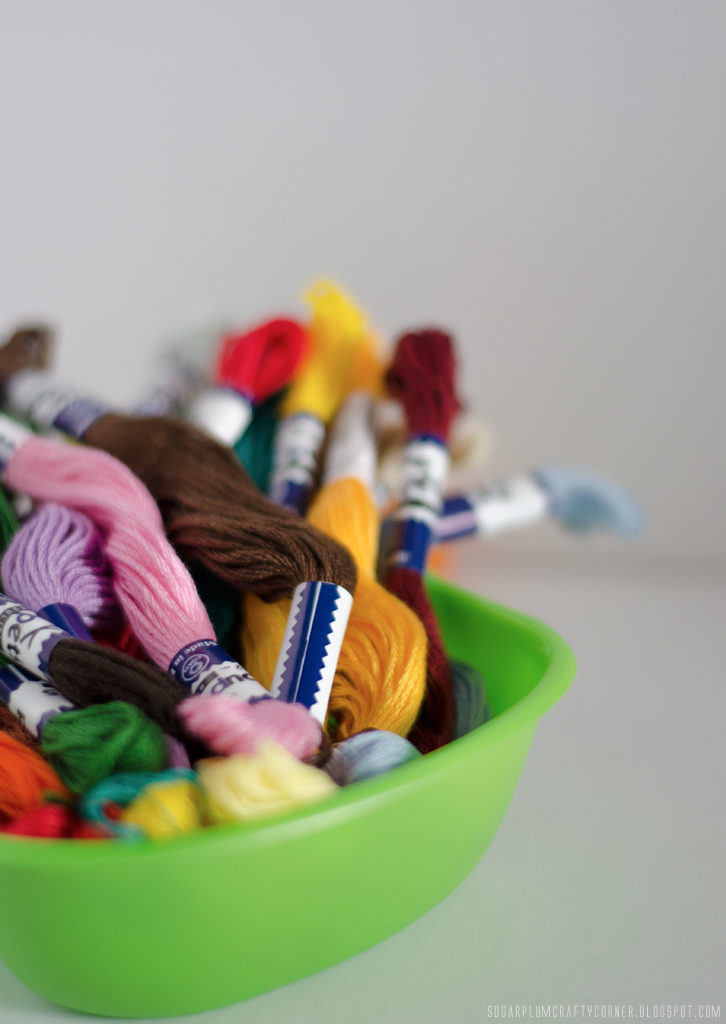
Para alguém como eu que gosta muito de lavores e que, ao longo dos anos, foi acumulando muitas linhas de bordar, a sua organização tornou-se crucial. Ao ter centenas de meadas por enrolar e organizar, constantemente fui adiando essa exaustiva tarefa. Somente agora, após a renovação do atelier, é que me senti motivada e ganhei finalmente coragem para domar a frustrante desorganização!
Com a ajuda de um enrolador de bobinas, envolvi as meadas nas bobinas de cartão e plástico que já tinha da Coats e da DMC, respectivamente. O enrolador foi uma ferramenta muito útil para enrolar rapidamente a linha à volta das bobinas e fácil de fixar a um extremo de uma caixa organizadora. Para uma forma ainda mais rápida de enrolar as meadas, podem conferir uma excelente ideia no blog da Allison!
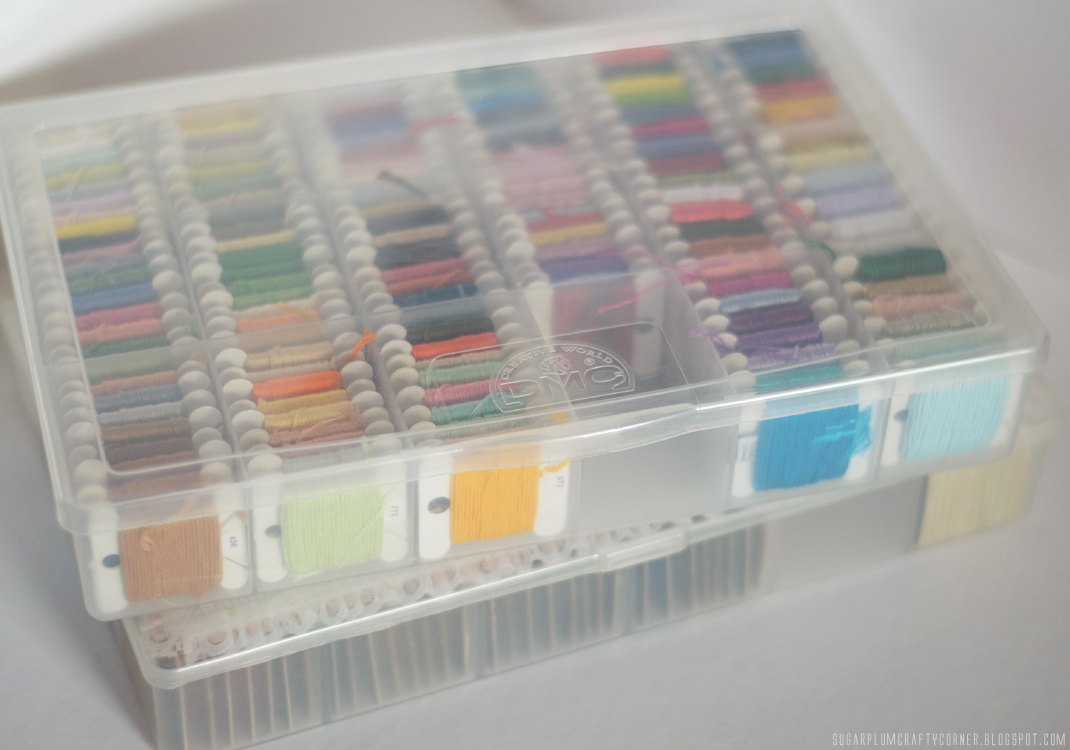
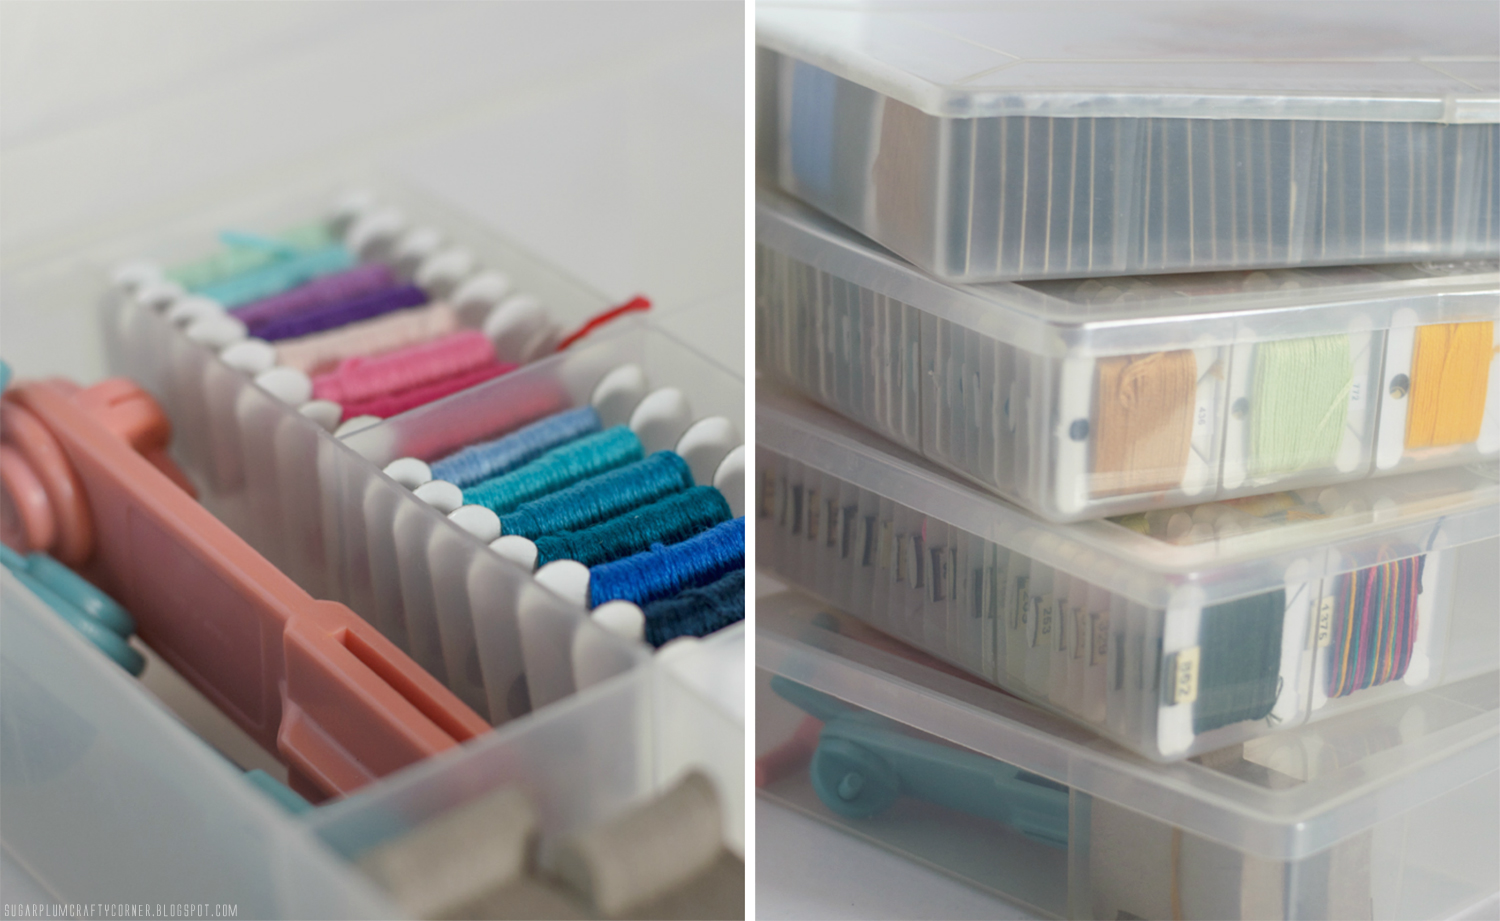
Para organizar e acondicionar todas as meadas, utilizei 4 caixas organizadoras para linhas: uma para as linhas de bordar da Anchor, duas caixas para as linhas da DMC e uma última para as linhas de marca branca e enroladores de bobinas.
A identificação das cores das linhas foi efectuada reutilizando a etiqueta com a referência da cor. Caso não seja possível reutilizar a etiqueta ou esta se encontre em mau estado, uso normalmente a minha máquina etiquetadora para catalogar as bobinas. A maioria das meadas da Anchor foram a excepção, uma vez que foram enroladas em bobinas de cartão exclusivas da marca produzidas para uma colecção de fascículos sobre ponto cruz, lançada há alguns anos.
É com uma enorme satisfação que contemplo as minhas linhas de bordar agora devidamente organizadas e dispostas numa ampla e inspiradora paleta de cores! 。◕‿◕。
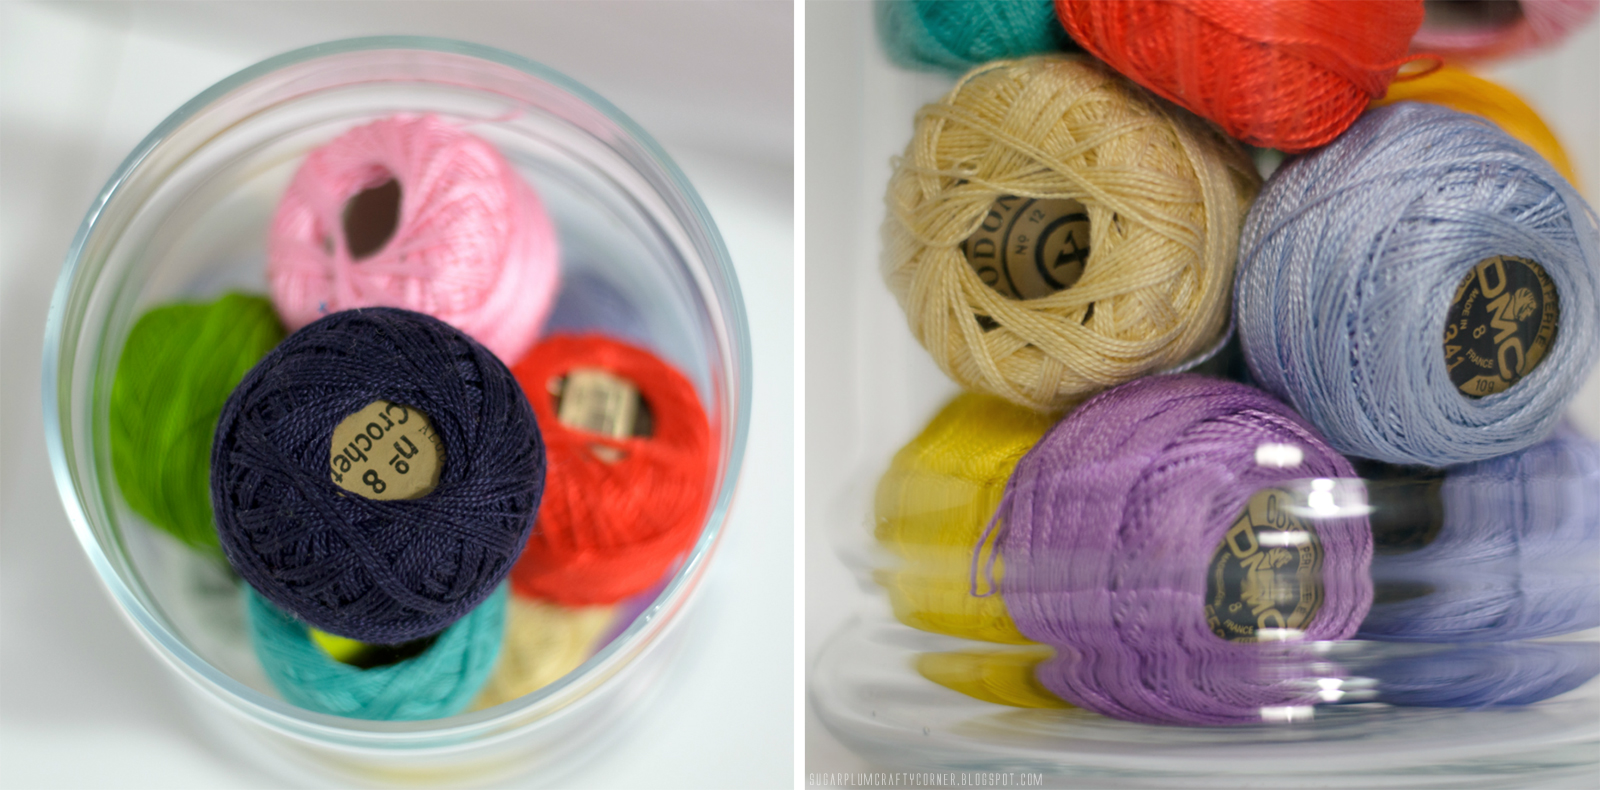 |
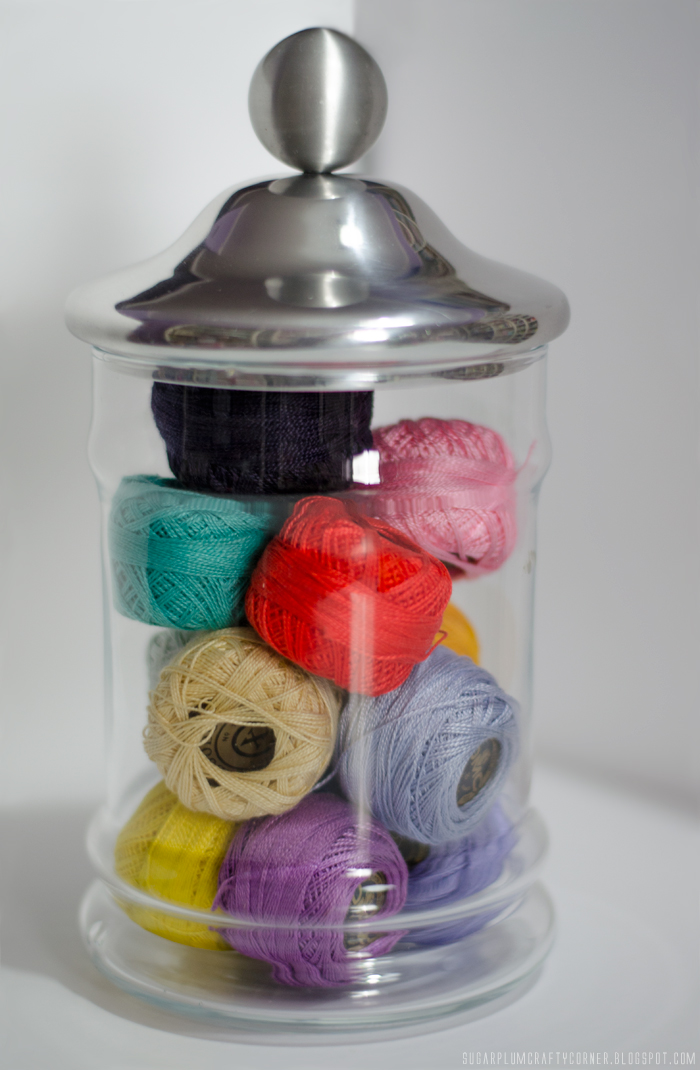
| Novelos linhas de bordar guardados em jarro de vidro / Embroidery thread balls stored in jar of glass |
For someone like me who loves needlework and that over the years has accumulated a lot of embroidery threads, its organization has become crucial. By having hundreds of skeins to wrap and organize, I was constantly avoiding this overwhelming task. Only now, after the craft room renovation, I felt motivated and finally gained the courage to tame the frustrating clutter!
With the help of a floss winder, I wrapped the skeins in plastic and cardboard bobbins from Coats and DMC, respectively. The floss winder was a very useful tool to quickly wrap the embroidery floss around the bobbins and easy to support it to one end of an organizer box. For an even quicker way to wind the skeins, check out an excellent idea on Allison's blog!
To organize and store all the skeins, I used 4 organizer boxes for embroidery threads: one for Anchor embroidery floss, two boxes for DMC skeins and a last one for white label embroidery threads and floss winders.
The identification of the skeins colors was done by reusing the label with the color reference. If I can not reuse a label or it is in a poor condition, I usually use my label maker machine to catalog the bobbins. Most Anchor skeins were the exception, since they were wrapped around unique cardboard bobbins made exclusively for a collection of cross stitch booklets, released a few years ago.
It is with great pleasure that I contemplate my embroidery threads now properly organized and arranged in a wide and inspiring palette of colors! 。◕‿◕。
sexta-feira, 25 de julho de 2014
Kawaii Friday Favorites
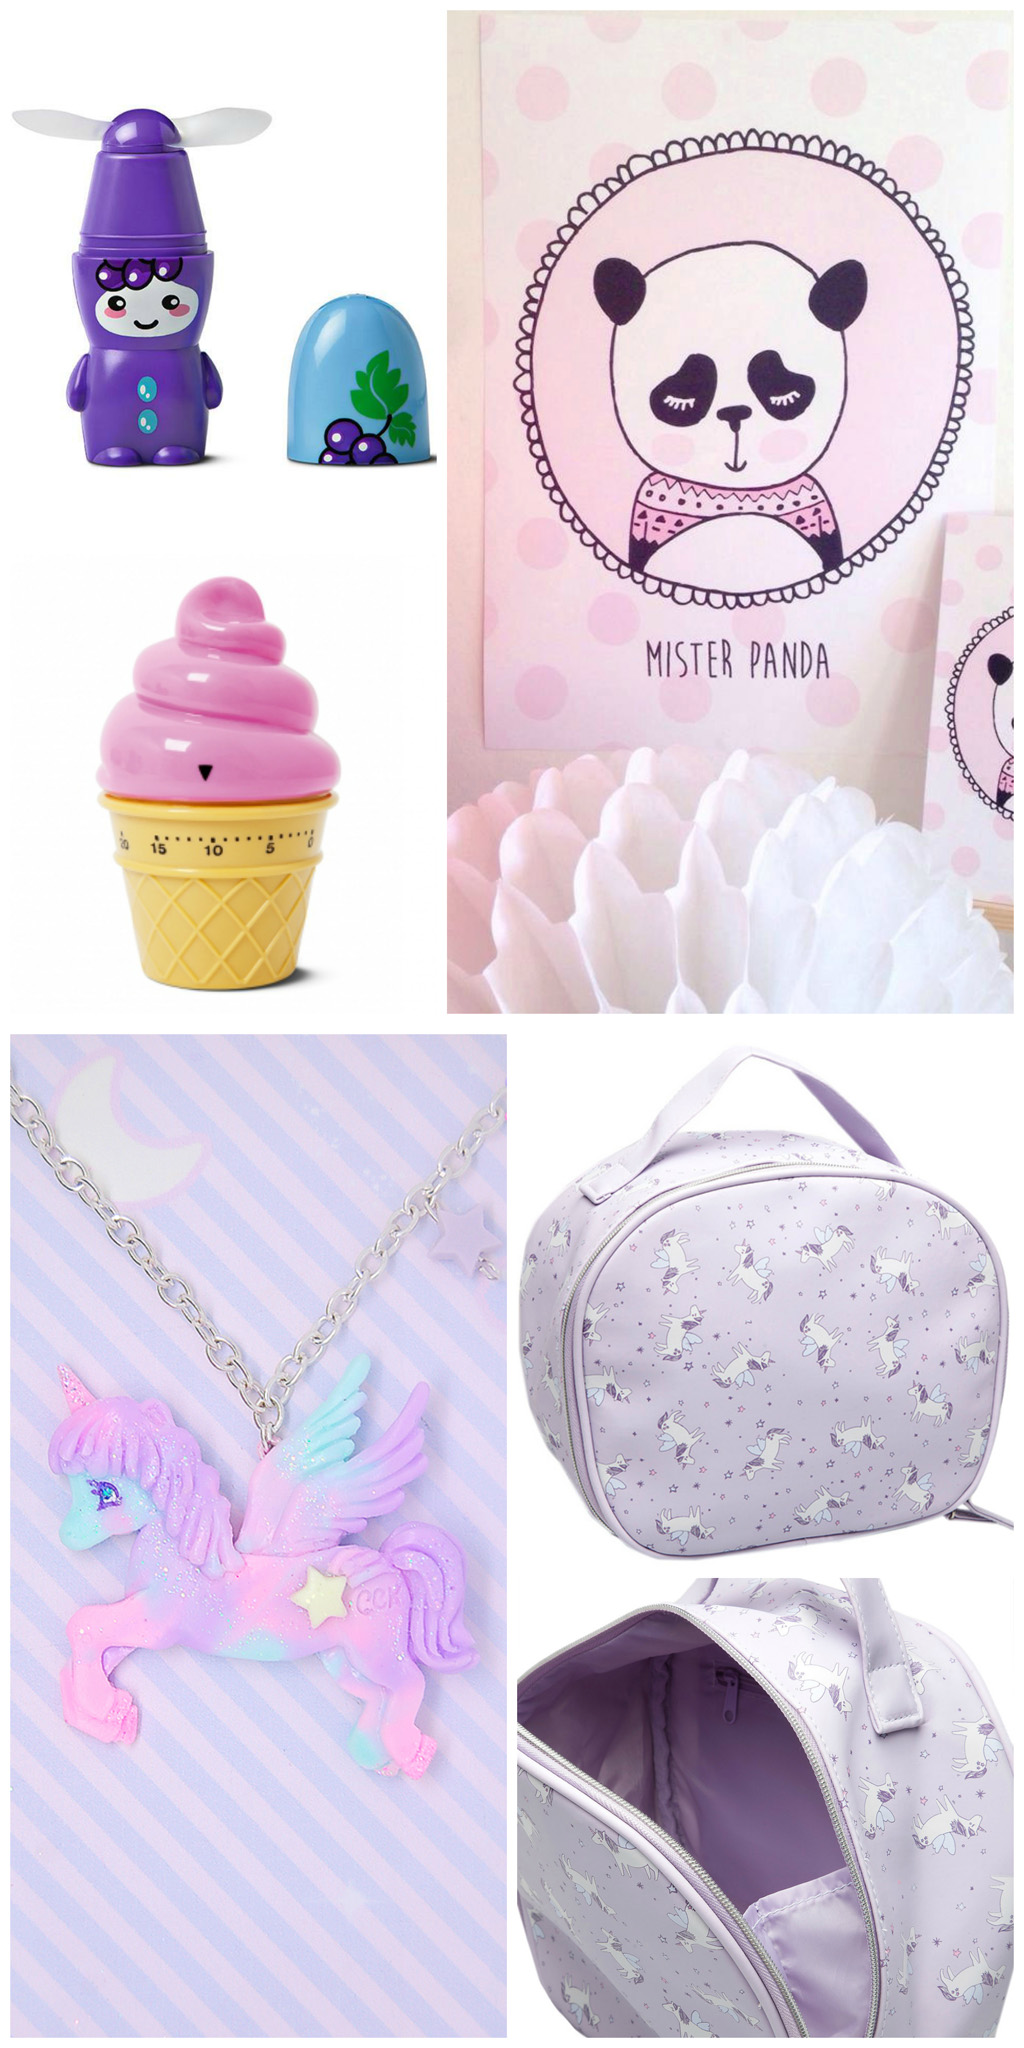
★ Para os dias de muito calor, uma mini ventoínha divertida e fofa da loja Tiger é leve e fácil de transportar, bem útil para nos refrescar e ainda capaz de arrancar-nos um sorriso.
★ Também da Tiger, um temporizador bem amoroso em forma de gelado com cores bem deliciosas, que não terá lugar na minha cozinha, mas sim no meu atelier!
★ É impossível não derreter-me com a ternurenta e meiga ilustração da Kriboute Mister Panda de tons suaves e que seria perfeita para adicionar à parede da inspiração do meu cantinho.
★ Estou completamente apaixonada por este colar da Cute Can Kill com um mágico pegasus. As suas tonalidades em pastel, o detalhe do arco-íris e da pequena estrela, bem como os brilhantes deixam-me encantada!
★ Mais uma mala de viagem da Women's Secret muito difícil de resistir para alguém como eu que adora os tons lilás e unicórnios. É lindíssima, não é?
★•.•*`*•.•*`*•.•*`*•.•*`*•★•*`*•.•*`*•.•*`*•.•*`*•.•★
★ For hot days, a mini fun and cute fan from the Tiger store is lightweight and easy to carry, very useful and handy to refresh us and it is still capable of tearing us a smile.
★ Also from Tiger, a very loving timer shaped ice cream with such delicious and yummy colors, it will not go to my kitchen, instead it will go to my studio!
★ It's impossible for me to not melt with this tender and sweet illustration of Kriboute Mister Panda in soft tones and it would be perfect to add to my craft room's mood board wall.
★ I am completely in love with this necklace from Cute Can Kill with a magic pegasus. Its pastel and soft tones, the detail of the rainbow and of the little star, as well the shiny glitter delight me!
★ Another vanity travel case from Women's Secret very difficult to resist for someone like me who loves unicorns and lilac tones. It's so beautiful, isn't it?
Subscrever:
Comentários (Atom)

